The CAPTCHA plugin uses the reCAPTCHA service to prevent spammers while it helps to digitize books, newspapers and old radio shows. In this Joomla 3 tutorial, we'll show you how to setup ReCaptcha.
1. Log into your Joomla 3 admin panel.
2. On your Global Configuration settings page, under the Site tab, set ReCaptcha as your default captcha plugin.
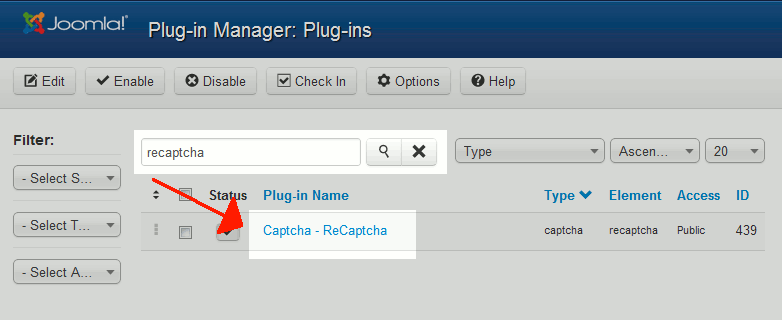
3. While still in your Joomla 3 admin area, in the top menu go to Extenstions -> Plugin Manager.
4. Using the filter feature at the top of the page, type in recaptcha. Click on the result: Captcha - ReCaptcha
5. On the Details tab, ensure that Status is set to Enabled.
6. Click the Basic Options tab. Fill in the Public Key and Private Key, which you can get by
registering your site here.
Another basic option you can set is the Theme. The following themes are available: Clean, White, BlackGlass, and Red.
After setting all options, click the Save button in the top left.
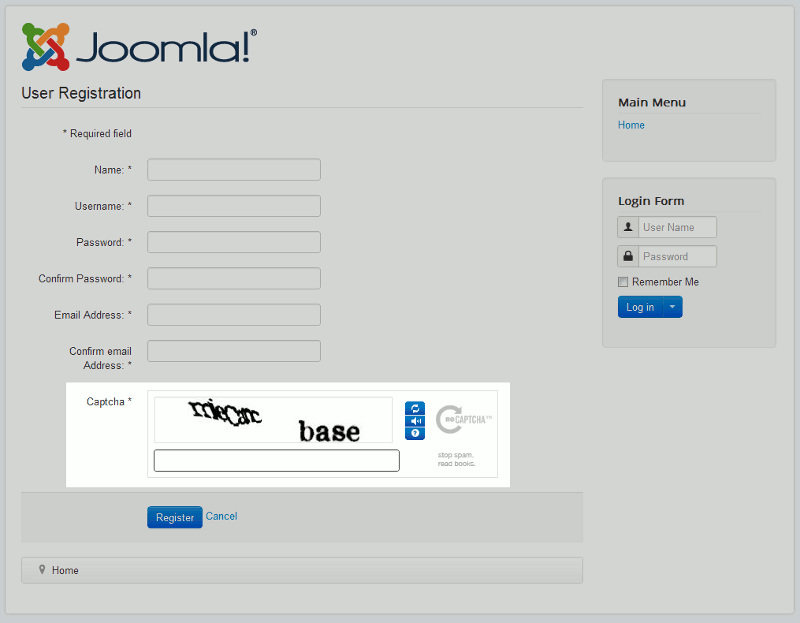
7. Be sure to test ReCaptcha to ensure it is working! You can do this by visiting your user registration page. At the bottom of the page, you should see ReCaptcha, as it appears in this screenshot:
If ReCaptcha is working correctly, you should see the following message after trying to register:
Message
Your account has been created and an activation link has been sent to the email address you entered. Note that you must activate the account by clicking on the activation link when you get the email before you can login.
To use this plugin for new account registration, go to Options in the User Manager and select Captcha - reCaptcha as the Captcha.