To install this theme you must have a working version of WordPress. Please refer to WordPress documentation for further instructions. You can download the latest version of WordPress here.
This theme is tested under Mac, Windows and Linux. Compatible Browsers: IE9+, Firefox, Safari, Chrome, Opera
If you’re already have a website or want to build website with template from zero data, you can use Theme Install package only (without sample data).
Step 1: Go to our website, login to Customer Area and download file '[theme-name]_wp_theme_package_unzip_first.zip', you just unzip it and you will see two packages includes '[theme-name]-child.zip' and 'layerswp' file.
Step 2: Login to your WordPress admin page (normally it's http://yourdomain.com/wp-admin).
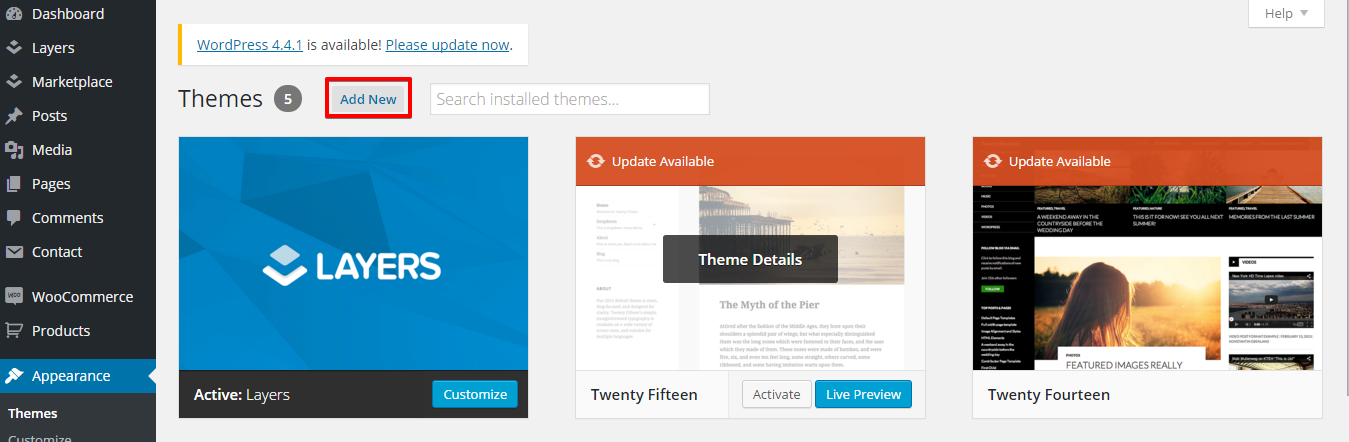
Step 3: Navigate to Appearance > Themes.
Step 4: Click Add New, click to 'Upload Theme' and browse file 'layerwp' in download package and click 'Install Now'. It's just theme framework, not require to active it after installed.
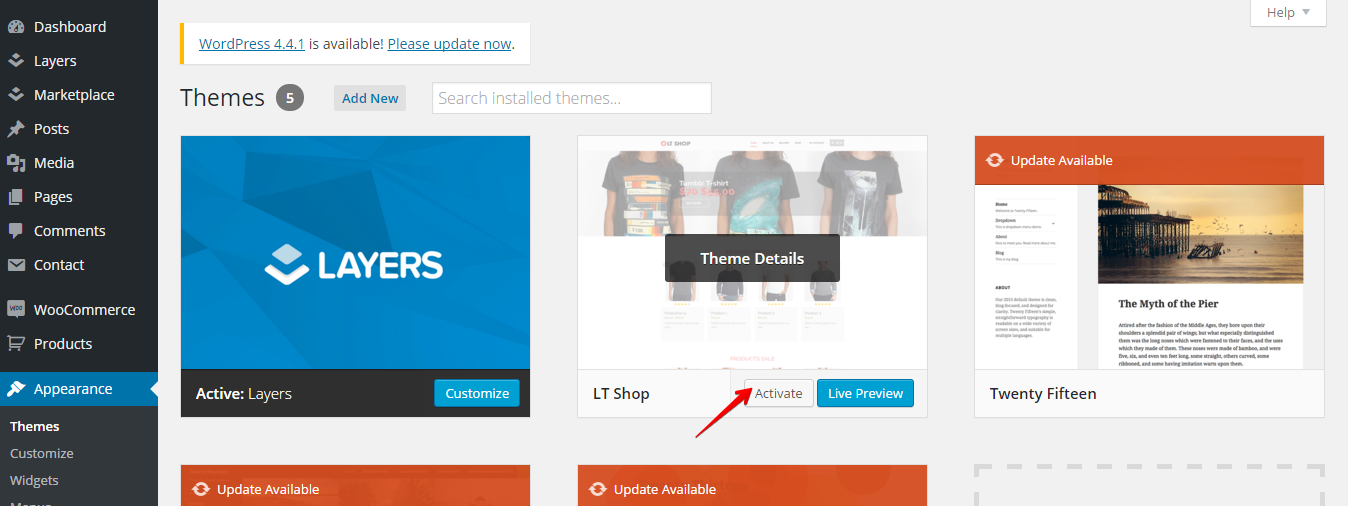
Step 5: Thus, you can install child theme LT SHOP via Admin > Appearance > Theme > Install new, click to 'Upload theme' and browse file '[theme-name]-child.zip'.
Step 6: After finish above steps, you can Active Child theme LT SHOP to load theme style.
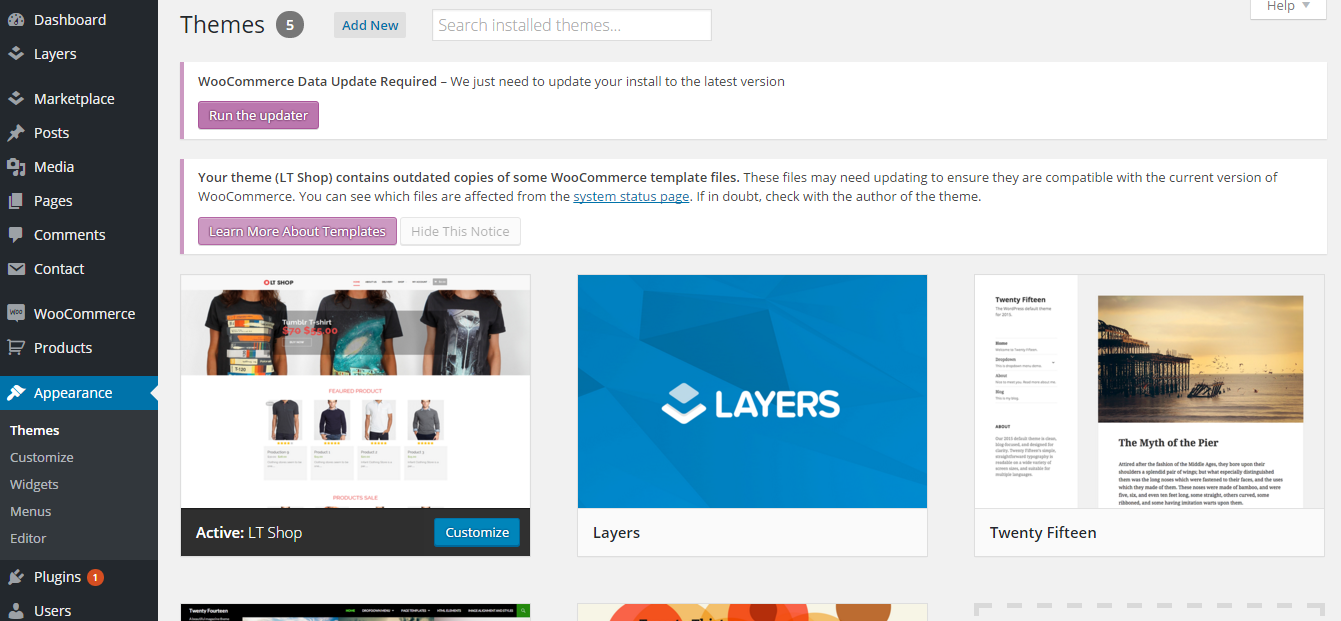
Now, you can start to build content for your website via Admin > Appearance > Customize. You can see details options in Layers and how to use it in part "Theme Customization" below.
* With PRO versions, you can download Quickstart package which you just install to get theme and sample data like our demo site, access all template features. So, you just replace demo content with your content to save development time.
After you buy PRO version, you can login to Customer Area and download file '[theme-name]_wp_quickstart_package.zip'. After downloaded, you unzip it and you will get two quickstart install files.
Step 1 – Uploading on server
Through FileZilla or another FTP software, upload all files (zip archive and installer.php) from QuickStart Package folder to your website directory.
In the directory should be one zip archive and one file installer.php
Step 2 – Run the Duplicator Installation Wizard
Open your web browser and go to the folder that you uploaded your QuickStart Package and enter the installer.php.

Step 3 – Enter your details of MySQL database
Action:
‘Create New’ will attempt to create a new database if it does not exist. This option will not work on many hosting providers. If the database does not exist then you will need to login to your control panel and create the database. If ‘Connect and Remove All Data’ is checked this will DELETE all tables in the database you are connecting to as the Duplicator requires a blank database. Please make sure you have backups of all your data before using an portion of the installer, as this option WILL remove all data. Please contact your server administrator for more details.
Host:
The name of the host server that the database resides on. Many times this will be localhost, however each hosting provider will have it’s own naming convention please check with your server administrator.
User:
The name of a MySQL database server user. This is special account that has privileges to access a database and can read from or write to that database. This is not the same thing as your WordPress administrator account
Password:
The password of the MySQL database server user.
Name:
The name of the database to which this installation will connect and install the new tables onto.
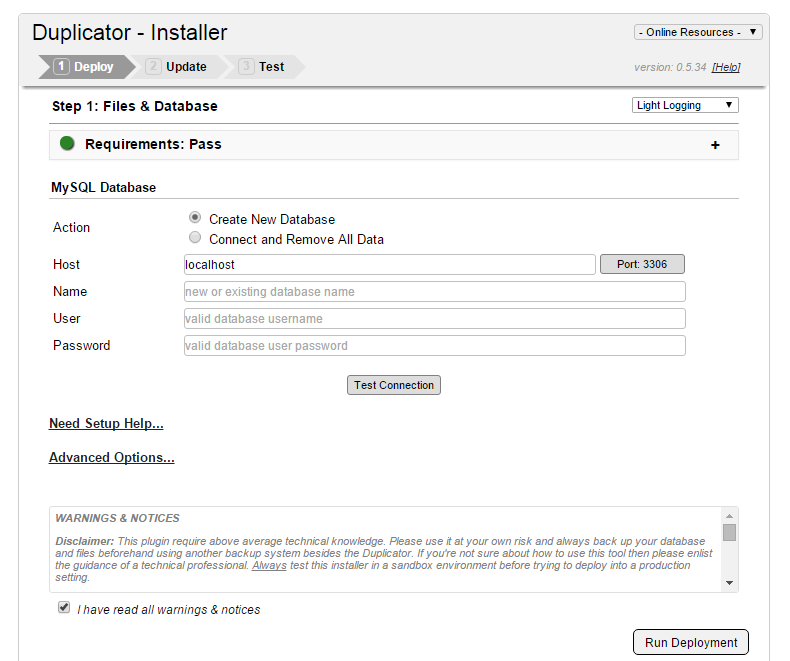
Step 4 – Click button “Test Connection“
If everything is done right you will get status “Success” for server connection and database found. If not, please check again paragraph 3 of this tutorial.

Step 5 – Click button “Run Deployment“
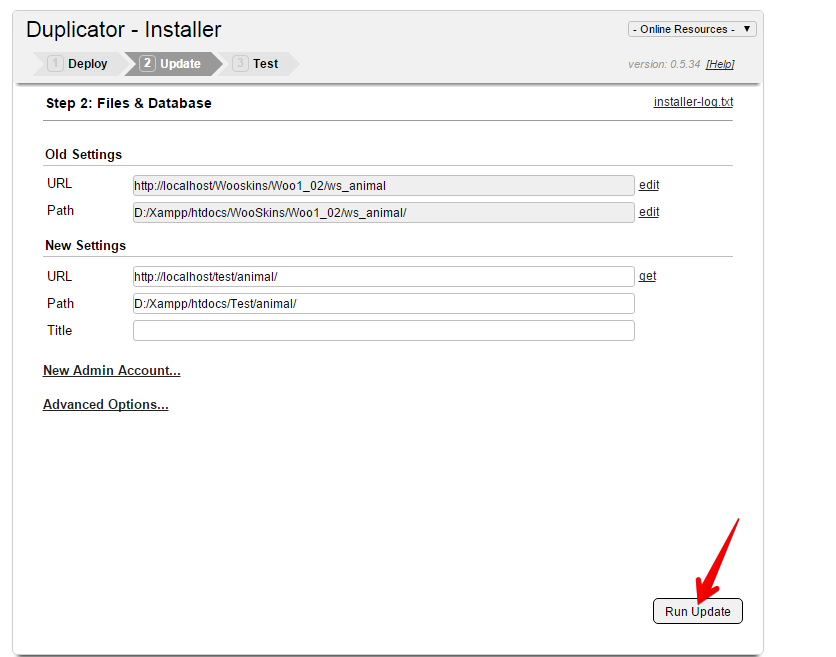
Step 6 – Check URL and click button “Run Update“
Step 7 – Finish and remove important data
– You can click to ‘Test Site’ to see how your website look like.
– See ‘Review Install Report’ to see any an error message that you have.
– Save Permalinks: Leave it default
– Security Cleanup: Right-click to this link, login to your back-end and delete security files, empty site cache and legacy.
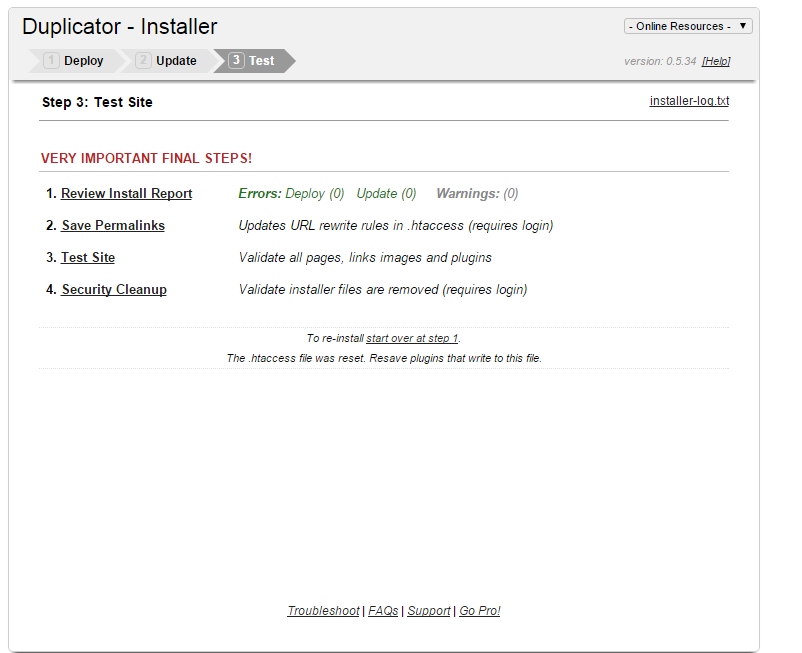
Congratulations, your quickstart package is now installed.
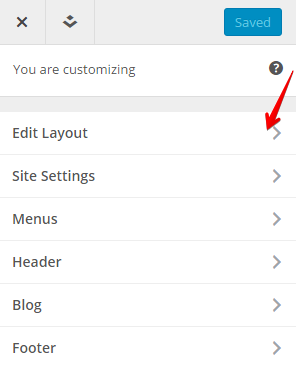
By installed LayersWP, we can use LayersWP custom control panel via Admin > Appearance > Customize.
With LayersWP, you can edit layout and content by drag-drop controls.
– You just click Edit Layout > Home Page Body > Add a widget and start creating your site
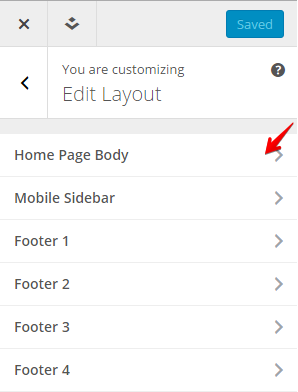
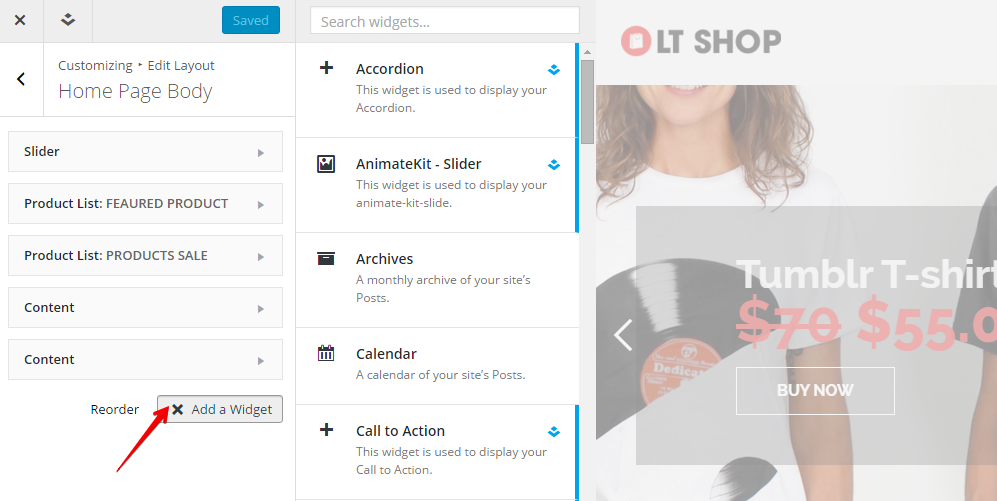
– You can click to existing widgets to edit content and layout based on layout options.
– Or you can create new layout by click to button ‘Add a Widget‘.
– Right now LaywersWP support many widget controls such as ‘Call to Action’, “Carousel Content’, etc’ beside default widget in WordPress.
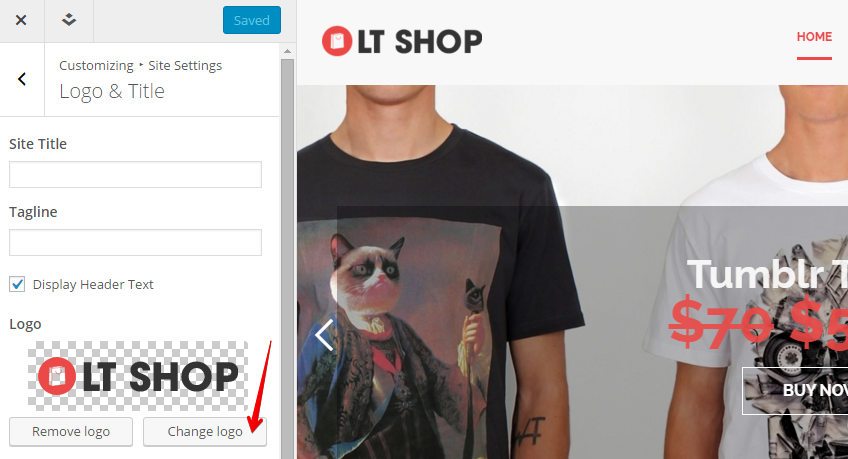
– Site title: Text logo
– Logo Image: Click change image. Choose an image from Media library or upload from your computer.
– Site Icon: The Site Icon is used as a browser and app icon for your site. Icons must be square, and at least 512px wide and tall. And click select file, select icon from Media library or upload from your computer.

– Typekit ID: Typekit includes nearly a thousand different fonts, each with a characteristic, usage and specific gravity. You can browse the complete fast to see the existing fonts, see follow this link.
– You can easily select any type google font used for Body, Headings, Buttons and click here to see this font on Google Fonts.

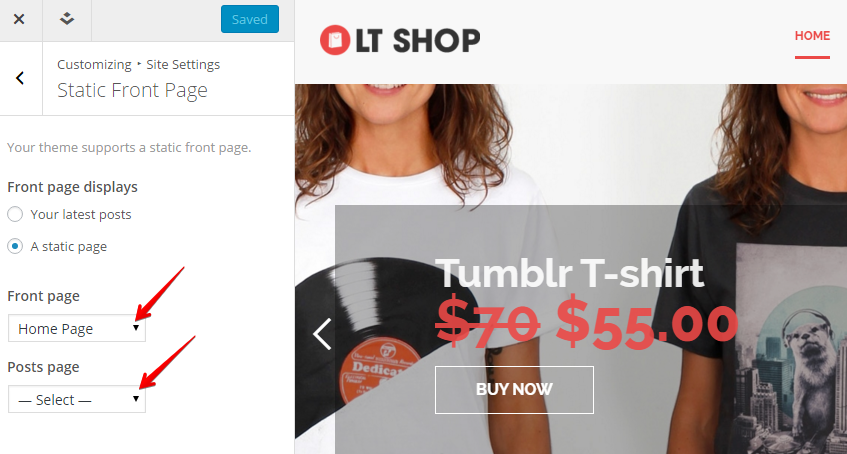
– Select page that you want to use as Homepage or Post page.
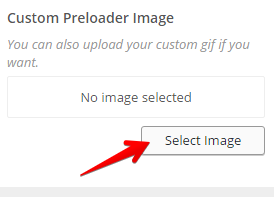
– There are 2 options for preloader: select icon or you can also upload your custom gif if you want.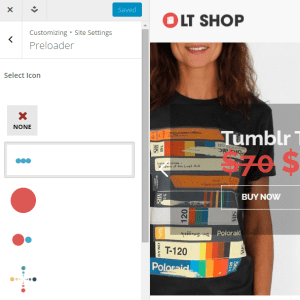
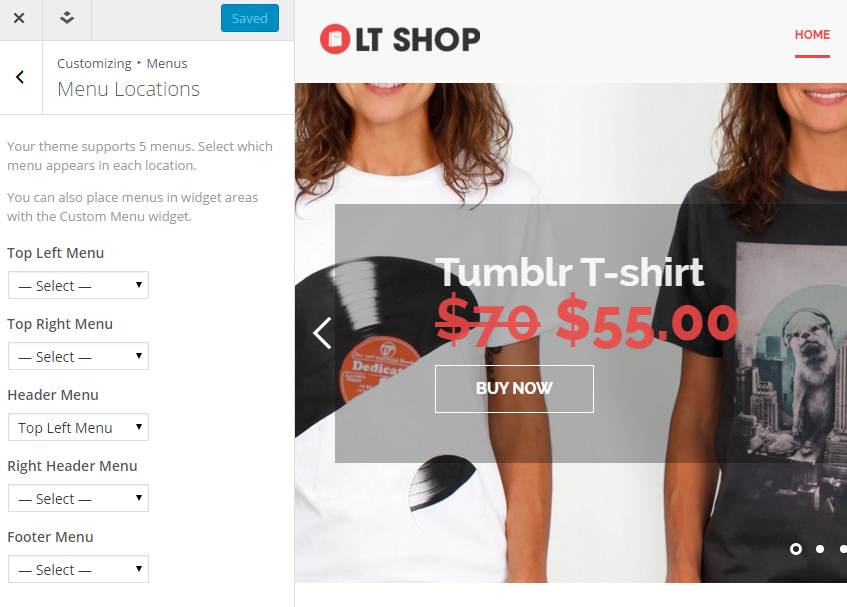
– Your theme supports 5 menus. Select which menu appears in each location. You can also place menus in widget areas with the Custom Menu widget.
* STYLING
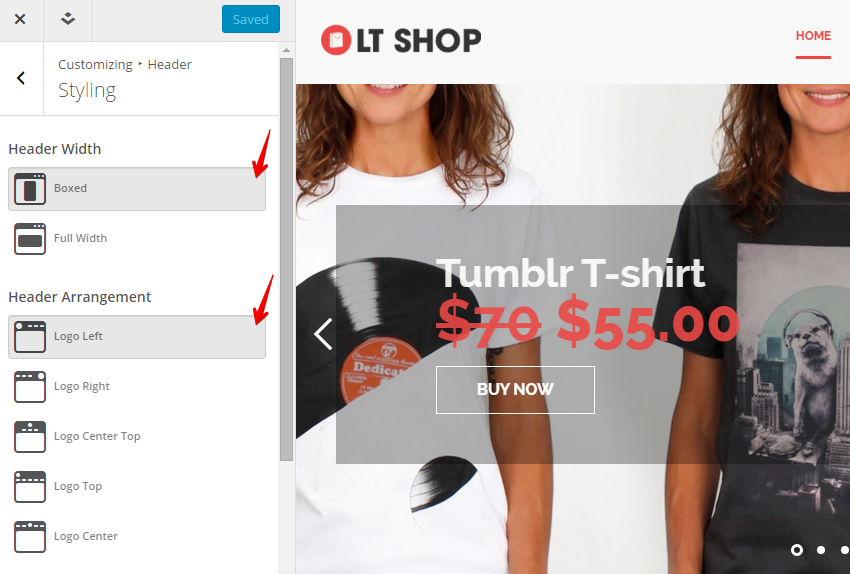
– Header Width: There are 2 options for header width: Boxed and Full width.
– Header Arrangement: There are 5 options for header arrangement: Logo Left, Logo Right, Logo Center Top, Logo Top, Logo Center.
* ADDITIONAL SCRIPTS
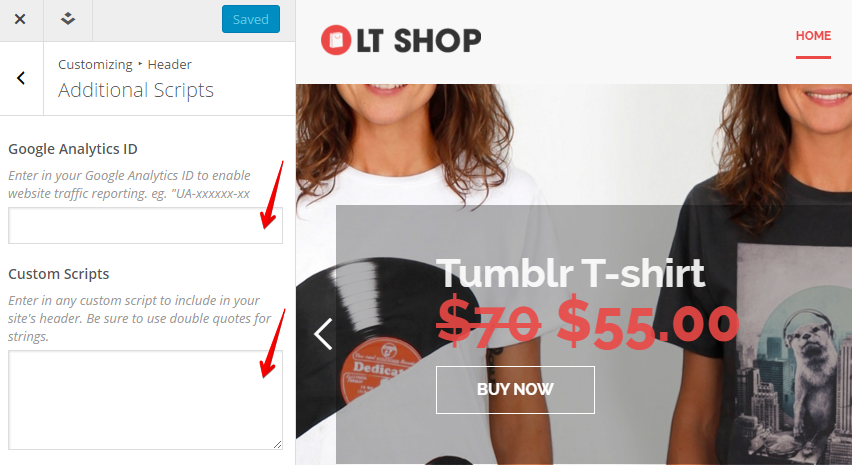
– Google Analytics ID: Enter in your Google Analytics ID to enable website traffic reporting. eg. “UA-xxxxxx-xx.
– Custom Scripts: Enter in any custom JS script to include in your site’s header. Be sure to use double quotes for strings.
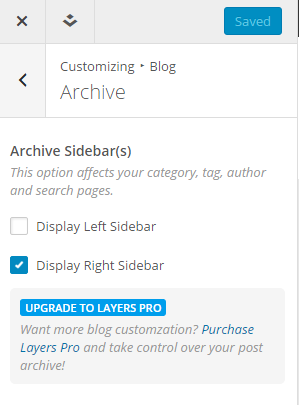
– Archive Sidebar: This is side bar content for Blog Page. This option affects your category, tag, author and search pages.
– Single Post Sidebar(s) : This is side bar content for Blog details page only. This option affects your single post pages.
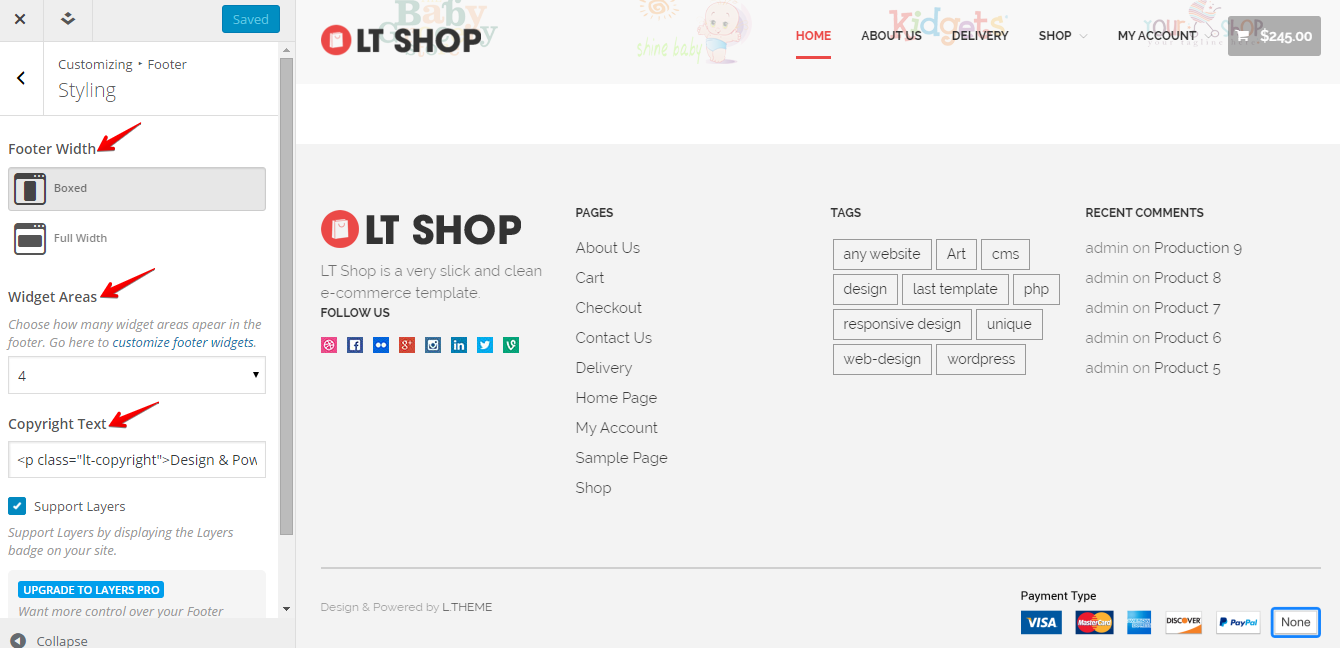
– There are 3 options for footer: Footer Width, Widget Areas and Copyright Text.
+ Footer Width: There are 2 options for footer width : Boxed and Full width.
+ Widget Areas: Choose how many widget areas appear in the footer.
– You can change the background color or preferences button by using the colorkit.
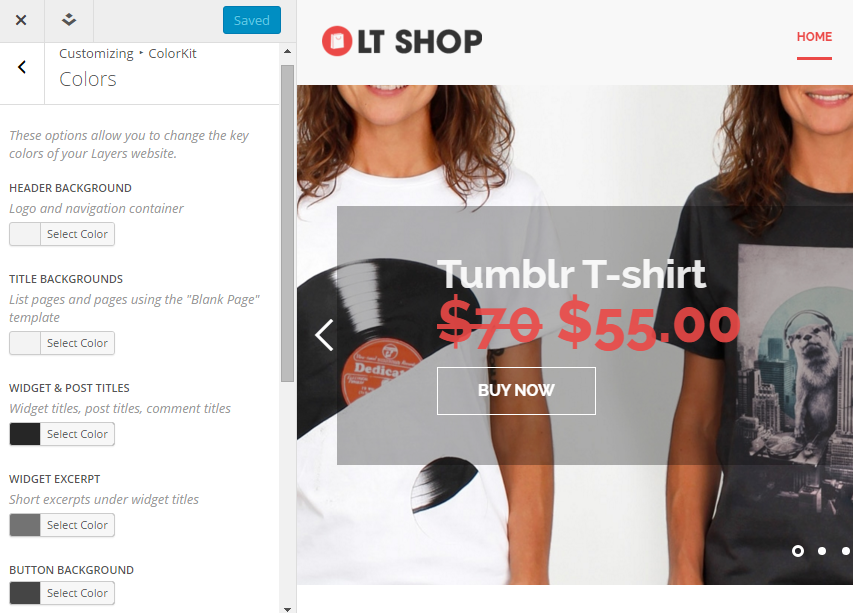
A. HEADER BACKGROUND: Change the header background color.
B. TITLE BACKGROUNDS: Change the title background color.
C. WIDGET & POST TITLES: Change the widget & post title color.
D. WIDGET EXCERPT: Change the widget Excerpt color.
E. BUTTON BACKGROUND: Change the button background color.
F. STORY LINK: Change the story link color.
G. POST META: Change the post meta color.
H. FOOTER BACKGROUND: Change the footer background color.
L. COMMENTS: Change the comments color.
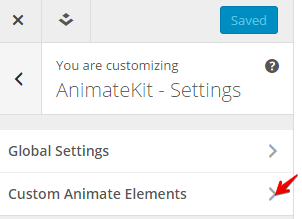
If you want to set some animations effect for your block content, you can use this control.
– You just click AnimateKit Settings > Custom Animate Elements and click add new button to add new elements.
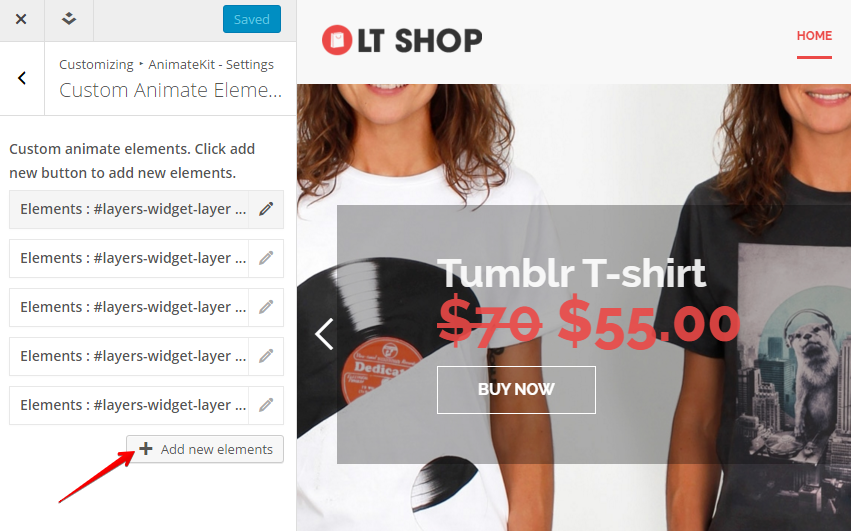
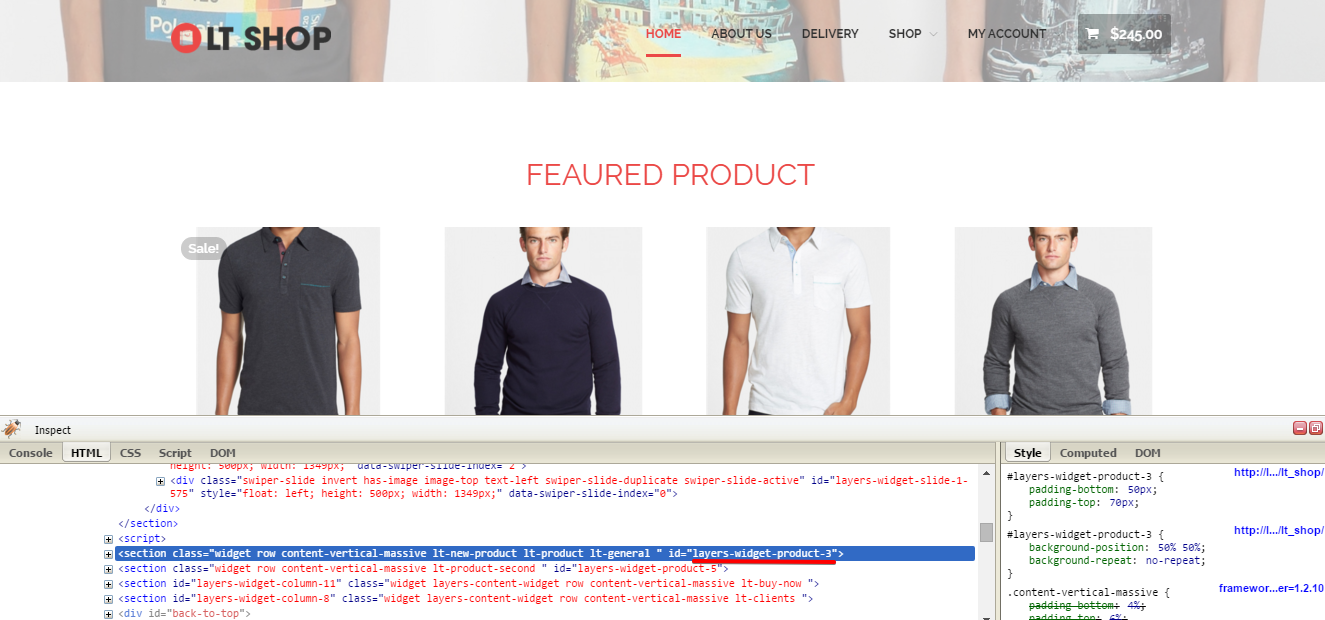
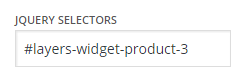 : Insert element class name or ID name, multiple selector should be separated by comma. If you want to take the ID name you can use Firebug.
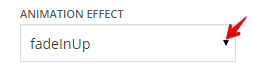 : You can easily select any animation
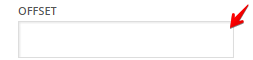 : Distance to start animation from the top window. Insert offset number in px or percentage(%).
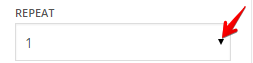 : Select how many times animation will be repeated.
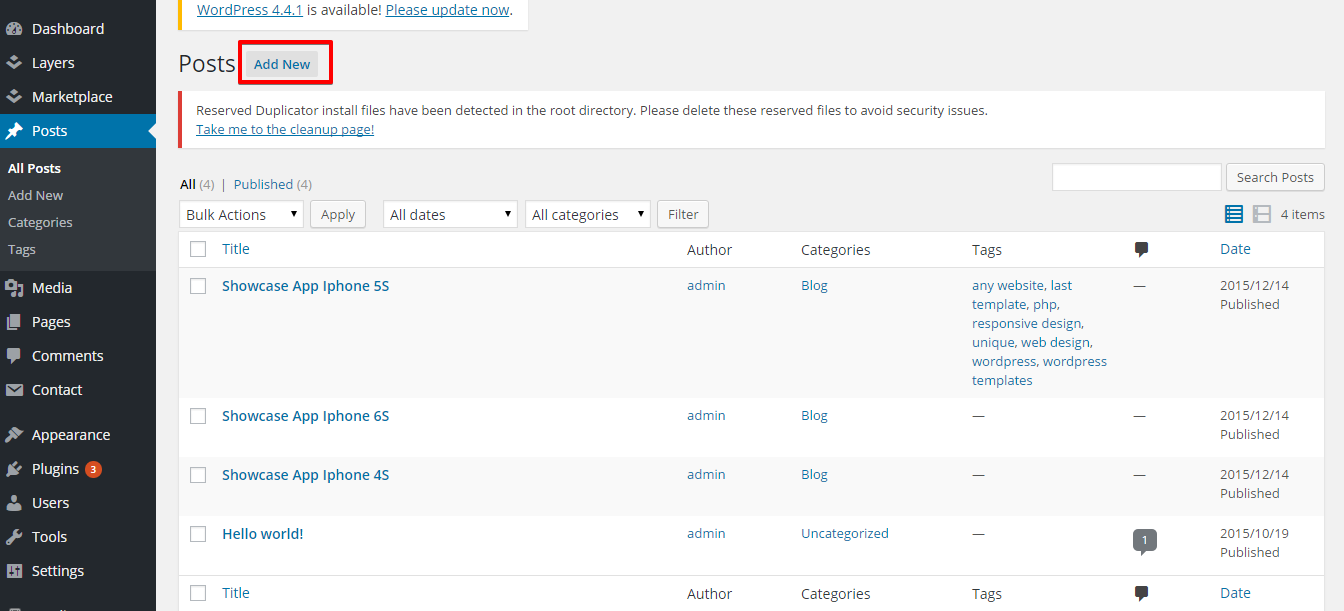
This is ‘Posts’ in WordPress and you can use it to build a blog for your page.
– Go to Posts > Add New to add new post. You can add various types of item to your post : Video, Audio, Gallery, Quote.
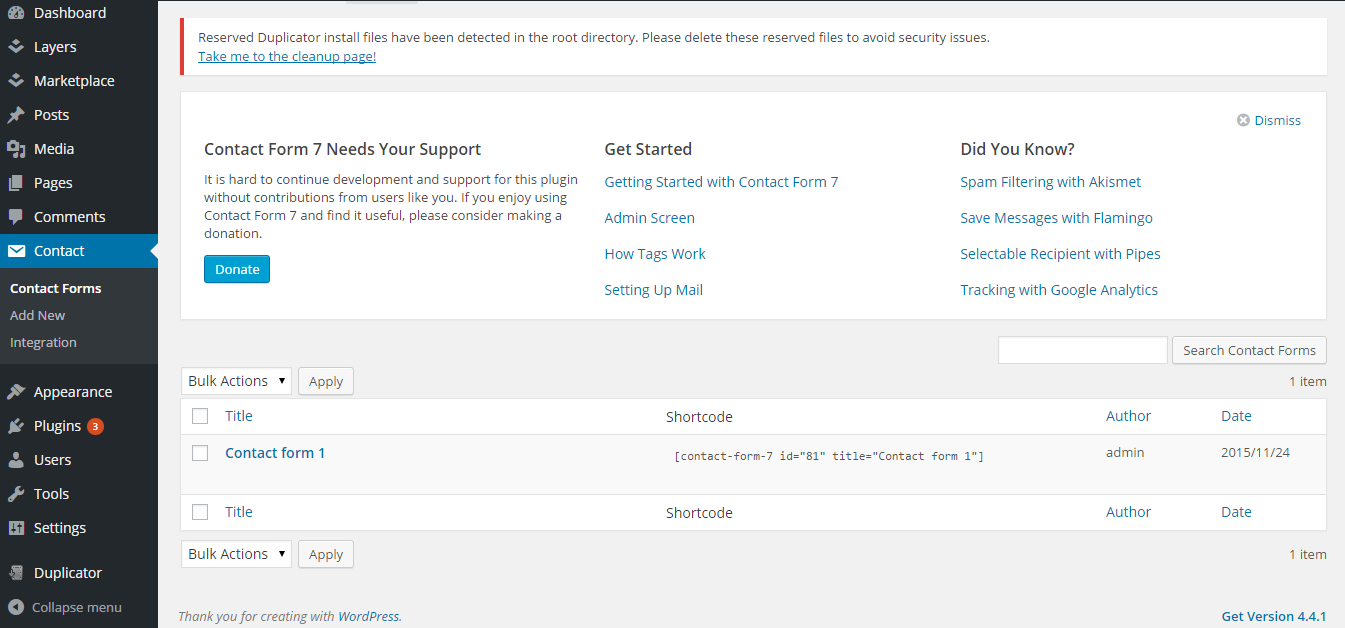
We’re using Contact Form 7 to build form layouts and features.
– This plugin is used to create powerful & flexible contact forms for your site.
– For more detailed information, please visit https://wordpress.org/plugins/contact-form-7/
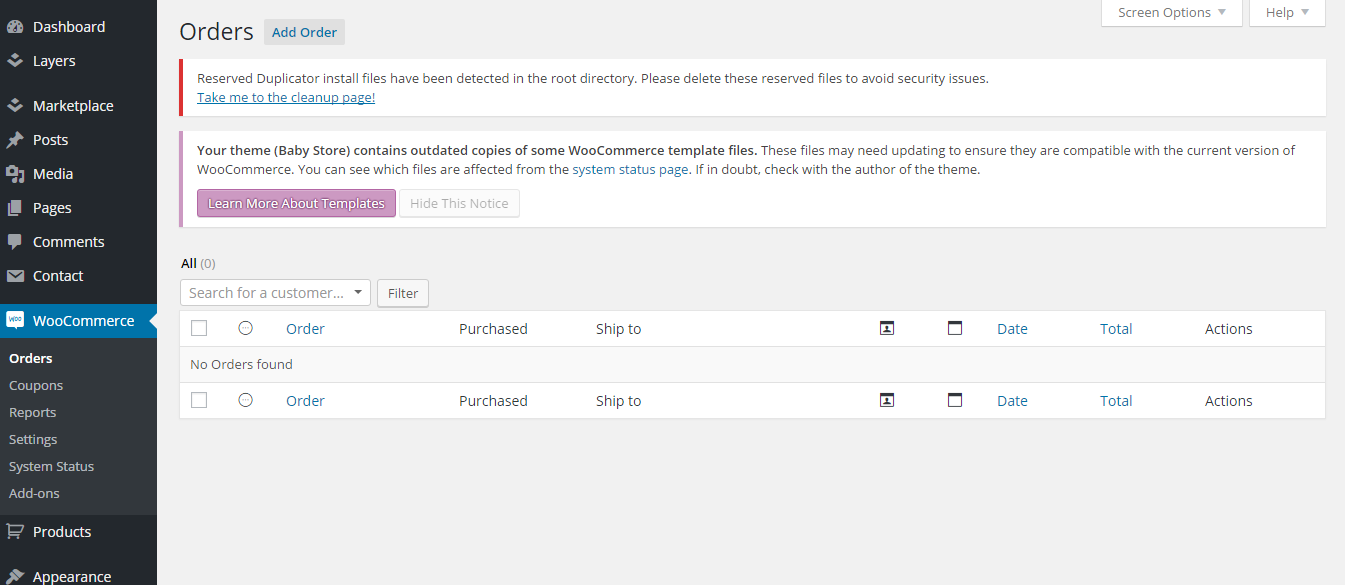
– This is a powerful plugin for managing your store. It has a lot of functions that required to run your store effectively.
– For more detailed information, please visit http://www.woothemes.com/woocommerce/ for demo, extensions, documentation and other goodies to enhance your store.
– Go to Admin > WooCommerce: settings for WooCommerce plugin.
– Go to Admin > Product: to add/edit product for WooCommerce.

Get an access to all 262 items designed and developed by LTheme team plus all the future items
which will be released over the course of your club subscription.
Price starting from $69.00
This free theme is a complete and utter waste. Once installed there literally is nothing there. Nothing to customize. Attempted to follow the "how to" section, but that seems to only apply to the paid version because the layerswp theme doesn't even come with the free install and if you download the layerswp to install it, still there is nothing there on this free theme. How is one supposed to test the theme to decide if they like it and there is nothing there? This is on a fresh install, so there aren't any plugins or anything else that could prevent a proper install. All minimum qualifications are met. ...